Doing home improvement or craft projects or any type of project without a proper organizational system is like building a home without a blueprint-a home of chaos, financial waste, and unfulfilled projects. The DIY Project Management and Shopping Planner helps pick up where a project planning system leaves off by offering a structured system for organizing project ideas into tangible project completion.
Whether it’s a weekend furniture project or a full-month kitchen renovation, one characteristic of a successful project is the use of meticulous planning where every element is considered before any cut or stroke is made. If it is your first DIY project where you are repairing some furniture or you’re a professional contractor overseeing a complex renovation project with multiple phases, a project planner like Planwiz ensures your project is on schedule and on track.
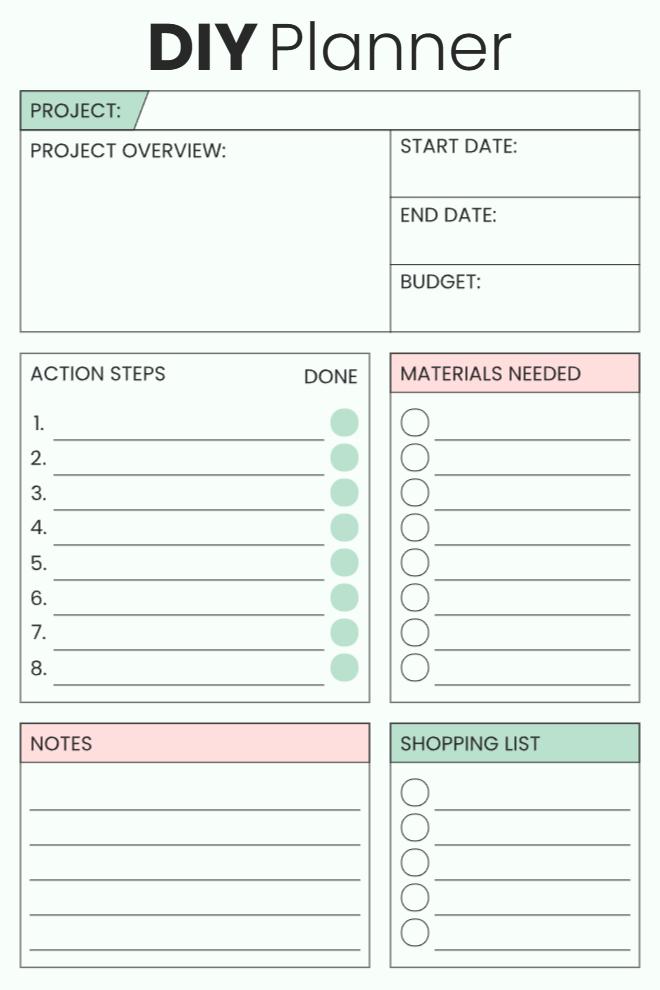
What is a DIY Project Management and Shopping Planner?
A DIY project management and shopping planner is an advanced organizational tool that functions as your one-stop project command center for home renovation projects and crafting projects. Unlike a to-do list or a simple shopping list, this comprehensive template organizes your entire project process into interconnected sections comprising project identification, timeline creation, budget assignment, step-by-step process description, material description, and tracking assignments.
This tool fills the gap between project vision and successful project completion by offering a visual map that helps to prevent organizational chaos, which is where most do-it-yourself projects go wrong. With this planner, the issue of scattered information, where important project details are spread throughout several notebooks, cell phone notes, and other reminders, is eliminated because such details are contained within a single source of reference.
How Do You Plan Projects with a DIY Project Management and Shopping Planner?
Successful DIY projects are not accidents but the result of planning for details before even taking the first cut or stroke. Through a premeditated approach in DIY planning, dreams become reality since budget blowouts, time dysfunctions, or incomplete DIYs commonly experienced by the ill-prepared DIYer are avoided.
Step 1: Define Your Project Goals and Scope
Clearly state what you want to achieve within a certain project statement, such as “Build a 12×16 foot deck with composite decking and built-in seating.” setting aside vague objectives like “improve backyard.” Elaborate on what constitutes success and set boundaries before scope creep takes hold that may cause timelines and budgets to go awry.
Step 2: Research Methods, Materials, and Best Practices
Take time or 3, 5 hours on watching video tutorials and analyzing completed projects similar to yours on YouTube. Participate in forums where the gurus reveal what they have gained from experience through previous projects. Study construction techniques and materials to measure difficulty and cost so that you can find out the hidden materials of secrets.
Step 3: Create a Realistic Timeline with Buffer
Lay out an estimated time frame for each stage based on your research and your honest appraisal of your skills. Use weekly planner templates to set aside project time throughout several weekend days. For tutorials that reflect 8 hours of project time, budget 12-16 hours of effort in your first cut. Incorporate a time contingency of 25% to 50%-successful diy’ers understand that unexpected problems are normal, not exceptional.
Step 4: Calculate Your Complete Budget
List all the materials and associated quantities and prices from supplier websites or personal visits to stores. Don’t forget to add costs that are usually overlooked by the people, for instance, the cost of fasteners, sandpaper, disposal costs, tool rental, and permits. Allow for 15% to 20% of extra expenses in case of price changes and alterations in the design. Use this planner with budget planner templates to track spending across categories.
Step 5: Break Your Project Into Sequential Action Steps
Break down your project into 8-12 phases, each of which logically follows the previous phase in the natural completion of the project. Each step of the action plan should be ableable in one working session (2-6 hours). Instead of using “build shed,” use steps such as “pour concrete foundation,” “frame walls,” and “install roof trusses.”
Step 6: Create a Comprehensive Materials and Tools List
Document every item needed, from major materials to specific fastener types and quantities. Organize by project phase to stage purchases and avoid clutter. Note specifications like lumber grades, paint sheens, and screw lengths to prevent purchasing incorrect items.
Step 7: Develop Your Shopping Strategy
Convert your materials list into an organized shopping plan that minimizes store trips. Group items by supplier and organize each list by store layout to eliminate backtracking. Buy foundation materials immediately, mid-project supplies one week ahead, and finishing materials only after earlier phases confirm specifications.
Step 8: Set Up Your Progress Tracking System
Your DIY project management and shopping planner becomes your central tracking hub for checking off completed steps, marking purchased materials, and updating budgets. Daily journal templates can also be supplemented by your planner where you record your day-to-day observations, possible solutions, and other details.
By following these eight steps in the planning process prior to commencing the physical construction work, the chances for success will be greatly improved and the associated stress and expenditures will be diminished.
Frequently Asked Questions
A DIY project management and shopping template is essentially an all, in, one organizational tool that guides you through planning, tracking, and finishing home improvement or craft projects in an orderly way.
It meshes core planning components such as project descriptions, schedules, financial plans, and task lists with a built, in shopping list feature within a single easy, to, use document.
Thanks to this two, in, one planner, you can say goodbye to the mess of scattered notes and the problem of materials getting forgotten since it keeps all your project data in one place.
Kitchen renovations, furniture making, or any garden renovation-this is how a methodical approach to work ensures that no aspect is left overlooked from the earliest stages of a task until it is accomplished.
A DIY project management and shopping planner avoids the key failure factors in any project: cost overruns, schedules slipping, and return trips to Home Improvement.
The one-click shopping list works specifically to counter the project midpoint supply run by putting all the needed materials in order before the construction phase even begins.
As long as budgets, deadlines, and shopping lists are all on the same screen, you can keep your mind clear and concentrate your creative juices on building instead of planning and remembering.
Such a centralized system has assisted thousands of do-it-yourself enthusiasts complete projects that could have easily stalled at some stage where organization had fallen apart.
Your project pitch or overview needs to discuss what it is that you want to or are creating, what reasons you have for creating it, or what a successful outcome of what it is that you want to or are
Include the specific goals and outcomes, location, and any restrictions that might include HOA rules, building regulations, and temp weather restrictions. In addition, the sixth step should include the persons performing the task and any time-sensitive external deadlines that you set.
The more specific your summary is, the better you will prepare to make informed choices during unforeseen events on site.
A good project overview is your north star that guides your project back to its intended goals if you are tempted to spend a fortune on changes in scope.
Start by breaking your project into sequential action steps, then identify every material needed for each step including quantities and specifications.
Look at similar completed projects to determine common missed items such as hardware, sandpaper, primer, or disposal materials. Always overorder by 10 to 15% to account for cutting waste, errors, and future repairs.
The do-it-yourself project management and shopping planner template comes with special sections designated for overall material lists alongside purchase-only lists of items to buy.
This segregation will allow you to stage your purchases accordingly, without buying all at once, hence cluttering your workplace with materials that you might not require for several weeks.
The action items need to be specific so that you can achieve them in just one working session, meaning in 2 to 4 hours.
Rather than having a goal such as “build a deck,” for example, a task list might include “pour concrete footings,” “install support posts,” “attach joists,” and “place decking boards.”
Breakdown steps are more specific and ensure a clear sense of direction by including many points of motivation to work towards during larger projects.
In order to organize a set of small tasks that you must accomplish for action steps, to do planner templates can help to divide large project phases into very small day tasks.
Each checkbox of the actions that you complete for your DIY project management and shopping organizer gives you a psychological victory that leads you on to your final objective.
However, it’s always important to note that you should have different sheets in your planners, assigned to each project, in order not to mix them up.
In case you are dealing with multiple projects, you might consider creating a master “overview page” where you list all your ongoing projects, their status, as well as next steps.
The monthly schedule planner templates are best for this task as it will give you a bird’s eye perspective of all your ongoing projects at one time.
Store your finished planners in a binder or folder to use as an asset on future projects.
Your notes on actual cost, actual time, and what you learned will make an invaluable personal database, one that will improve in accuracy with each successive DIY project management and shopping planner you do.
You should organize your lists by store sections rather than by phases of project work for optimized results during shopping.
You will categorize all the lumber together, you will categorize all the hardware together, and you will also categorize all the paint materials together, irrespective of the specific stage of the entire construction process where you will apply them.
Cross off the items for your DIY project management and shopping list planner whenever you add items to your shopping cart to avoid inaccuracies when you go shopping.
In case you find that any item is not available for acquisition and/or is beyond your means of payment, you may like to note down this aspect as well so that you may accordingly amend your project plan with your other demands for acquisition.
The materials needed section is a list of all the materials necessary for the entire project that may be in your garage or workshop in addition to the materials you have to source from the market.
The list includes only those things that you require buying and allows you to plan an effective grocery errand without having things that you already possess.
When you are buying things from your shopping list, cross them off while retaining your materials needed portion intact.
This dual structure in your DIY project management and shopping template ensures you don’t accidentally buy duplicate items while maintaining a complete record of all project requirements.
Update your DIY project management and shopping planner after each work session while details are fresh in your mind and accomplishments are clear.
Record what you completed, check off finished action steps, note any changes to timeline or budget, and identify the next task to maintain momentum. This immediate documentation prevents forgotten details that could cause problems later.
Also helpful are weekly project reviews towards larger projects to provide a good idea of your progress. For longer renovation projects that take a number of months, use your planner for milestone checks by incorporating quarterly planner templates.
Regular entries turn your planning tool into a dynamic project management tool that changes and grows as your projects change and grow.
Both solutions work depending on your preferences and the environment where you will carry out your project. It’s best to have a hard copy when conducting a workshop or a construction site where paint splatters or environmental elements such as dust and moisture will affect it.
Electronic versions available for use with a tablet or smartphone allow you to make any number of changes while offering the flexibility to take a picture of your project management and shopping template for future use during shopping.
Many DIYers use a hybrid approach: keeping a printed master copy in their workspace and photographing the shopping list section on their phone before store trips.
This combination provides durability where you work and convenience when you shop without requiring you to carry the entire planner everywhere.
Note changes directly on your planner using a different color pen or add dated notes in the notes section explaining why plans shifted.
Maintaining a separate notes planner templates for detailed problem-solving documentation allows you to record extensive troubleshooting steps without cluttering your main project planner.
It provides a rich documentation of your thought process decision-making and will serve as a great learning material for your subsequent similar projects. Don’t recreate it again, just strike out the obsolete pieces of information and jot down your corrections around them so that you can sketch out the developments that took place in your work.
If changes are extensive, update your action steps and shopping list to reflect new reality while keeping original estimates visible for comparison.